TRANSFORMING IMAGES: STEP-BY-STEP GUIDE TO MY VIRAL EDITING TECHNIQUE
FOR BEGINNERS
10/28/20245 min read
Ever wondered what it takes to transform an image into a stunning visual?In this blog, I’ll take you step-by-step through that edit, sharing insights, techniques, and the creative decisions that shaped the final image. Whether you're looking to refine your editing skills or just curious about how a simple photo can turn into a masterpiece, this guide is for you. Let’s dive into the details that made this edit resonate with thousands!


Before
After
To kick off the editing process, I uploaded the picture to Lightroom, where I applied my basic coloring preset to set the tone for the final look. This preset helps establish the foundational mood of the image with consistent colors and lighting. Next, I made minor adjustments to the angle and cropped the photo to refine the composition. This quick setup in Lightroom ensures the image is perfectly framed and ready for the detailed edits in Photoshop
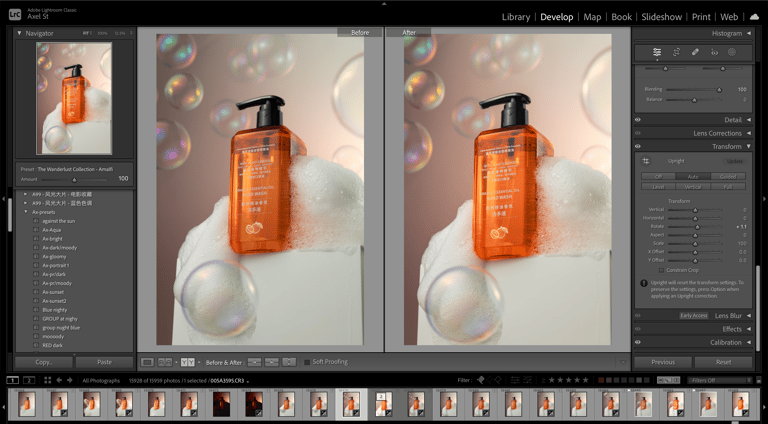
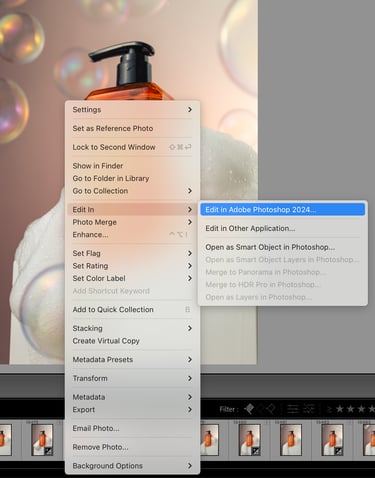
After finishing basic adjustments in Lightroom, I sent the image to Photoshop, where the real magic begins. Here, I can refine details and add creative effects to make the image truly stand out
Step 1: Preparing the Image in Lightroom
Step 2: Sending the Image to Photoshop for Advanced Edits
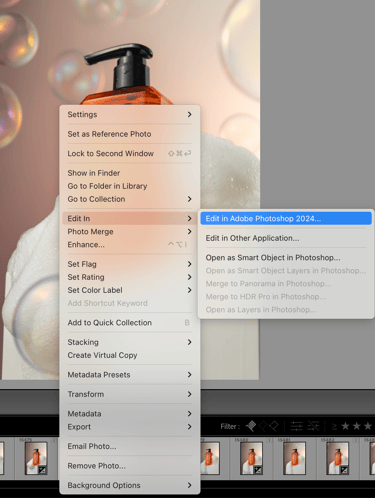
Step 3: Selecting the Text in Photoshop
Method 1: Using the Color Range Tool
The first step I take in Photoshop is creating a selection of the text, which I do using one of my favorite methods: the Color Range tool. Here’s how:
Duplicate the layer (Ctrl + J on Windows, Cmd + J on Mac).
Go to Select > Color Range (Alt + S, C on Windows, no direct Mac shortcut).
Choose Shadows from the drop-down menu.
Click Invert
Adjust Fuzziness and Range to isolate the text.
Method 2: Using the Object Selection Tool
Choose the Object Selection Tool (W).
Choose the Object Selection Tool (W).
Zoom in to make the selection more precise (Ctrl + + on Windows, Cmd + + on Mac).
Select the text area, then switch to Add to Selection mode (Shift + drag selection).
If you make a mistake, don’t worry—just press Ctrl + Z on Windows or Cmd + Z on Mac to undo.
If you accidentally select part of the background, that's okay; we’ll fix that later.
Once selected, isolate the text and logo by creating a new layer (Ctrl + J on Windows, Cmd + J on Mac)
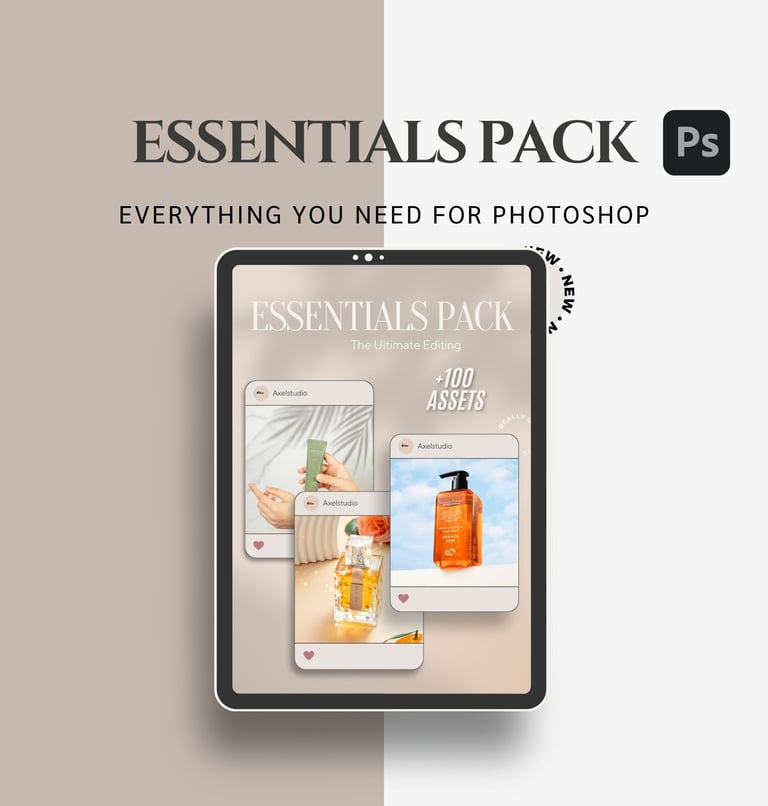

Unlock your creativity with the Ultimate Editing Essentials Pack! This collection features overlays, textured backgrounds, sparkles, smokes, window shadows, and plant shadows—everything you need to elevate your photos and videos. Perfect for social media edits and product photography, this all-in-one toolkit delivers professional results with a cinematic touch.
Tips:
Zoom In: Use the zoom function to enhance the precision of your selection. A closer view allows for better control over what you’re selecting.
Don’t Stress About Mistakes: If you accidentally select the wrong area, simply hit Cmd + Z to undo. Editing is a process, and it’s okay to make adjustments along the way.
Background Selection: If some parts of the background are included in your selection, don’t worry! We can clean that up in the next steps.
Step 4: Cleaning the Product
With the text layer isolated, disable its visibility to focus on the product itself. To clean up the product, I use either the Lasso Tool (L) or the Pen Tool (P) to create a precise selection around the areas needing improvement. Once selected, I apply Generative Fill to automatically replace imperfections. After reviewing the generated options, I choose the best one and make any necessary refinements to ensure a clean and polished result.
Once the product cleanup is complete, reactivate the text layer we created earlier, bringing all elements back into view. To enhance the text and logo, go to Options > Brightness/Contrast and adjust the sliders. Play with the brightness and contrast levels until the text, logo, and other elements appear sharp and perfectly balanced. This final touch ensures everything is clear, polished, and ready for the final presentation
Step 5: Redrawing the Light Reflection
To enhance the light reflection on the product, I use the Pen Tool (P) for a precise selection in the area where the light reflection should be. After selecting the area, I convert it into an active selection. Next, I use the Gradient Tool (G) to create a custom gradient layer. Both ends of the gradient are set to black, with a white midpoint, creating a strong, realistic highlight. This method intensifies the reflection, adding depth and polish to the final image.
Pro Tip:
For a more natural light reflection, slightly feather the selection edge after using the Pen Tool. This softens the transition and avoids any harsh lines. You can adjust the feather radius in Select > Modify > Feather (usually around 1-2 pixels works well). Additionally, experiment with lowering the opacity of the gradient layer or changing its blending mode to Overlay or Soft Light. This will help the reflection blend seamlessly with the product's surface, giving it a more authentic and polished look.
Elevate your business with this fully customizable Canva template, designed specifically for photographers. It includes all the essential sections to present your services, pricing, and portfolio
Step 6: Clearing the Background and Final Touches
Next, I focus on clearing the background and removing any remaining blemishes. Personally, I prefer using the Remove Tool alongside Generative Fill for this task, as it efficiently cleans up unwanted areas. Once I’m satisfied with the results, I save the work, and the edited image appears back in Lightroom.
In Lightroom, I make final adjustments to the color and highlights. If necessary, I create masks to lighten any dark areas, ensuring a balanced overall look. With these last tweaks, the image is polished and ready for presentation!