Achieve Perfectly Sharp Photos Every Time: Easy Tips for Flawless Results
2/13/20255 min read
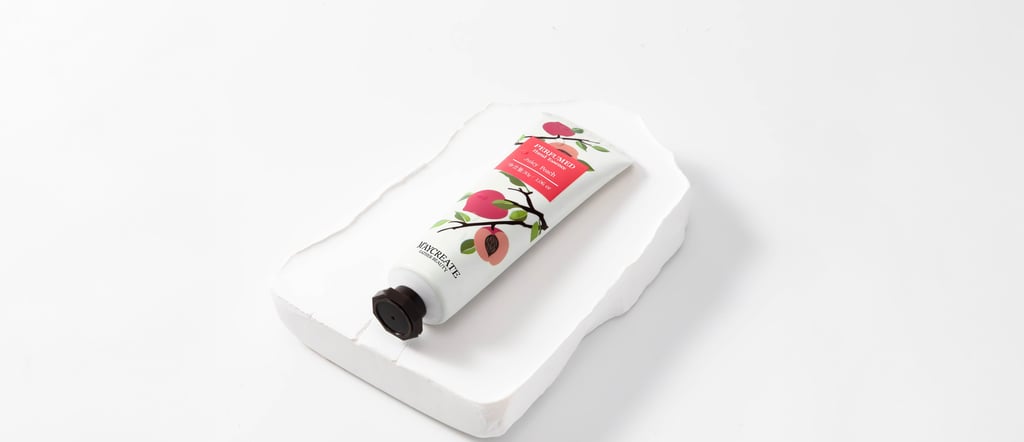
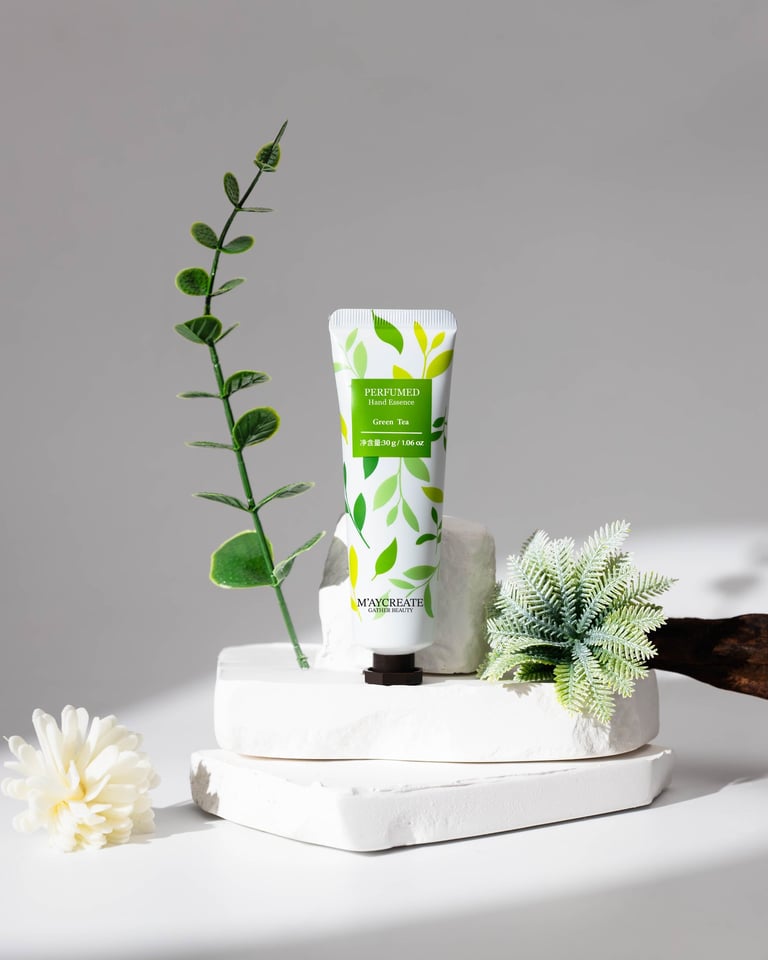
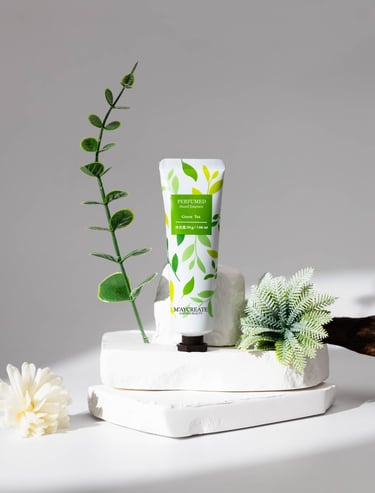
When you're shooting products, especially for beauty or skincare, sharpness is key. You want every detail to pop, whether it's the smooth texture of a cream bottle or the intricate design of a luxury perfume. There are a few tricks that can help you achieve that crisp, sharp focus, and today, I’m going to walk you through them.
1. Focus on Your Focal Point
The first thing I do when shooting product photography is to make sure I have a solid focal point. Whether I'm shooting a single product or a group, I make sure that the key feature, like the logo or texture, is sharp. You can’t go wrong with manual focus here—sometimes autofocus can be too unpredictable for precise shots.
Pro tip: If you’re shooting multiple products or an arrangement, ensure you have everything in the same focal plane to avoid parts looking out of focus.
2.Dirty Lens?
This one often gets overlooked, but it’s a huge factor in image sharpness. Just like the windshield of your car, if there’s dust or smudges on the front element of your lens, it’s going to soften your images.
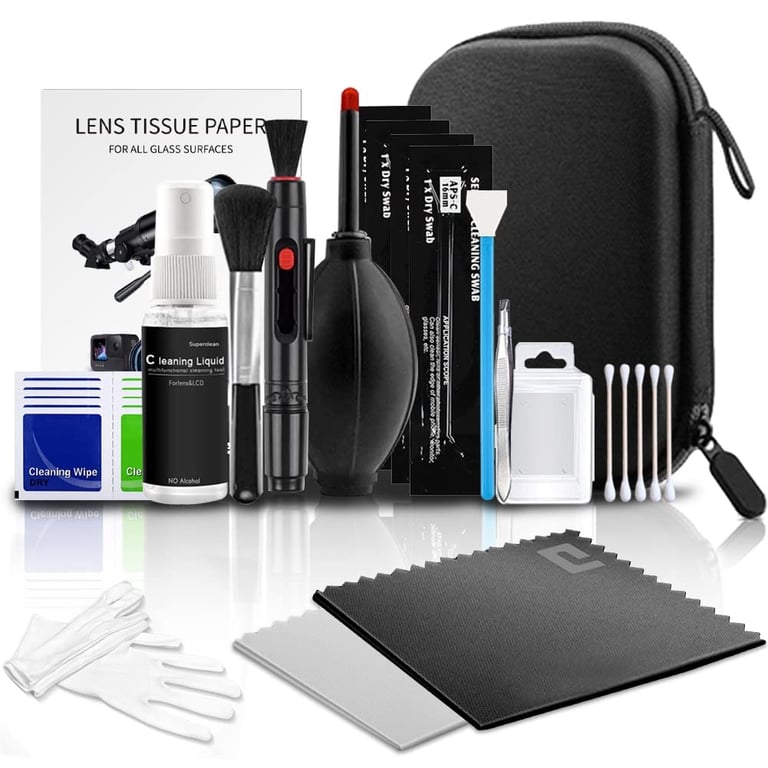
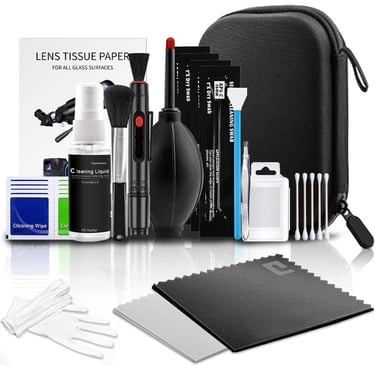
Before you even start shooting, grab a rocket blower and blow off any dust from the front of your lens. If you're still seeing spots in your photos, it could be dirt on the back element or even on your sensor. For this, I recommend using a proper camera cleaning kit, which usually comes with a lens brush, a blower, and sensor cleaning swabs.
3. Steady Your Shot
This may sound obvious, but it’s easy to forget when you’re in the heat of the moment. A steady shot is crucial for sharp images. When you're working at slower shutter speeds or trying to get ultra-detailed shots, even the tiniest camera shake can cause noticeable blur.
Investing in a good tripod is a game-changer. It locks in your camera, ensuring no accidental movements during your shoot. A solid tripod can be the difference between crisp, sharp images and a blurry mess, especially when you're working with slow shutter speeds or capturing smaller details.
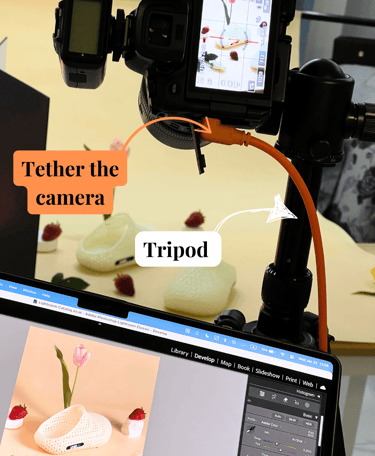
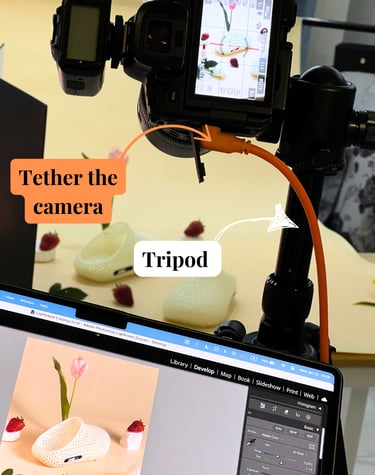
Another tip is to tether your camera to your computer via Lightroom or other photo software. This allows you to see your shots in real-time on a larger screen, helping you catch any unintended blur before you continue shooting.
A steady shot makes a world of difference when it comes to creating clean, sharp images, so don’t skip this step!
If you’re hand-holding your camera, always be conscious of potential shake. Even small movements—like pressing the shutter button—can introduce blur. That’s why I highly recommend using a remote shutter release or the camera’s built-in timer function to trigger the shot without touching the camera.


4.Aperture and Sharpness: Finding the Sweet Spot
When it comes to achieving sharp, detailed images, your aperture plays a significant role. You might assume that using a very small aperture (e.g., f/20 or f/30) will give you the sharpest image possible, but in reality, it can actually result in softer photos. This phenomenon is known as diffraction—when light passes through a small aperture, it begins to scatter, which reduces the sharpness of the image.
F/20
Iso 640
1/60s
The reason for this is simple: at a smaller aperture, light has to travel through a tiny opening, causing it to scatter and blur. While sharpness is somewhat subjective, you’ll generally notice that medium apertures (like f/5.6 or f/8) provide the best balance of sharpness and clarity.
One thing to keep in mind when shooting at smaller apertures is that you might need to focus stack—especially when working with detailed product shots. This technique allows you to combine multiple images focused at different points to ensure everything is sharp, even if you’re working at a narrower aperture.
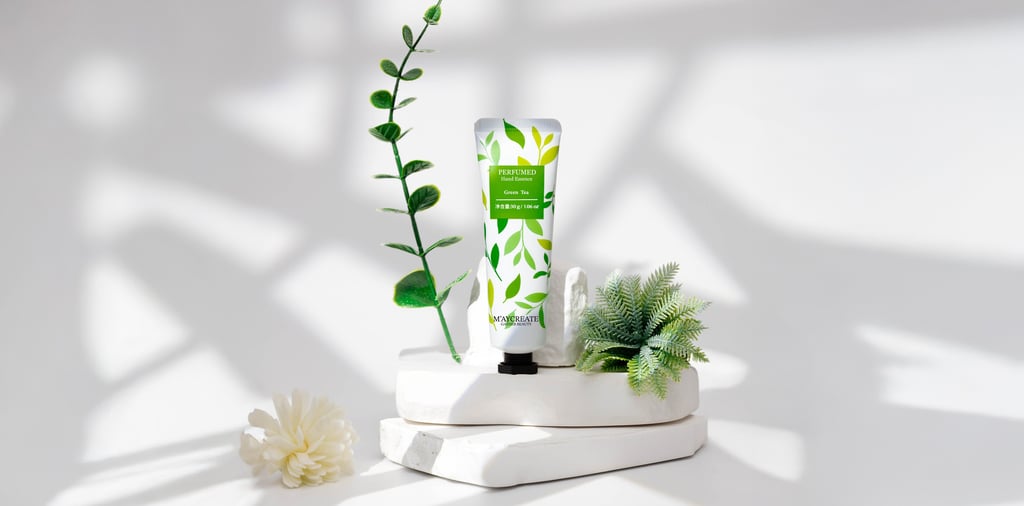
5.Quality of Light Inside the Studio
Light is everything when it comes to product photography, but the quality of light matters just as much as the amount. Using hard light from a single source can create harsh shadows and loss of detail. Instead, I prefer soft, diffused light that wraps around the product. This gives you even lighting, which is essential for showing off textures and details in your product.
If you're using artificial light, a softbox or an umbrella is a great way to diffuse the light and eliminate those hard shadows. If you're using natural light, keep an eye on how the light changes throughout the day, and adjust your setup as needed. It's all about keeping your light quality consistent for that perfect, sharp shot.
Bonus: Fixing Sharpness in Text and Logos
Sometimes, even when your image looks sharp, the text and logos might not appear as crisp as you'd like—especially if they were added after the photo was taken or if they were poorly rendered in the first place. To fix this and ensure the final result is as sharp and polished as possible, I follow a simple workflow.
Remove the Text or Logo: The first thing I do is remove any text or logos from the image. I’ll use Photoshop to carefully delete the existing text or logo to ensure the background is clean and even.
Request the Original Assets: Next, I ask my clients to send me the font they use for any text and a PNG of their logo with a transparent background. This is key for achieving a clean, high-quality replacement. Using the exact font ensures consistency with their branding, and the transparent PNG of the logo allows me to place it seamlessly into the product photo without any unwanted backgrounds or edges.
Replace and Rewrite: Once I have these assets, I can then replace the text and logo in the image. If I need to adjust the text for better readability or positioning, I’ll do that as well. The goal is to make the text and logo appear as sharp and professional as possible, just like the rest of the image.
Final Touches: After replacing the elements, I’ll double-check the sharpness and clarity, making sure the text and logos match the overall quality of the product photo.