5 Lighting Hacks That Will Make Your Products Sell Themselves
11/2/20244 min read

In product photography, lighting is everything. It’s what takes your images from average to jaw-dropping, bringing out the mood, texture, and details that make your products irresistible. Whether you’re working with natural light for that warm, organic vibe or dialing in artificial lights for total control, nailing your setup can make all the difference. This guide’s packed with lighting tips that’ll help you bring your products to life—no matter your style. So, if you're ready to light up your shots like a pro, let’s dive in!
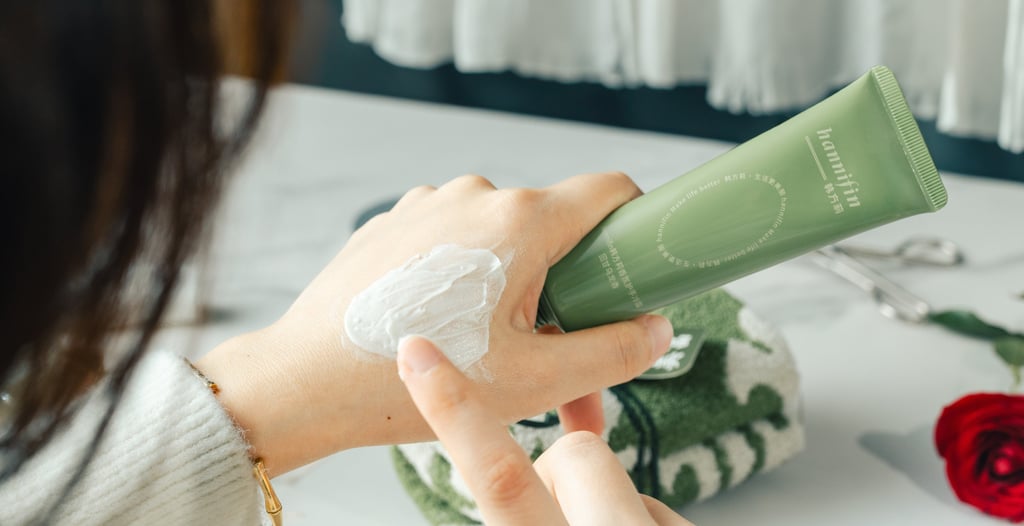
Picture created for Hannifin by Axel studio
Before we jump into the tips, let’s break down the basics of lighting. The way you light your products can completely change their vibe—adding mood, depth, and texture that make each shot pop. You’ve got two main options: natural light, which gives a warm, authentic look, and artificial light, which offers total control. Understanding these options will set you up to make the most out of every shot.
Natural Lighting
Natural lighting is a powerful choice for product photography, offering a soft, authentic feel that’s hard to replicate. It brings out the natural colors and textures of a product, adding warmth and vibrancy that can make images feel more inviting. For best results, shoot near a large window or outdoors during the “golden hours” – early morning or late afternoon – when the light is softer and more flattering. Just keep in mind that natural light can be unpredictable, so be ready to adapt as the light changes. When used well, natural light can bring a unique, organic quality to your product photos.
Streamline your client interactions with this all-in-one communication template pack for photographers! From proposals to delivery, it includes ready-to-use emails and messages for every stage, helping you stay clear, professional, and consistent. Perfect for a smoother workflow and stronger client relationships!


CLIENT COMMUNICATION TEMPLATE PACK
Artificial Lighting
artificial lighting is your ultimate ally for creating seductive visuals that draw in customers. With the power to sculpt and shape light, you can set the mood—whether you crave a soft, romantic glow or a bold, dramatic flair. Choose from continuous lights that offer an affordable, steady stream of illumination, or unleash the intensity of strobe lights for images that command attention. For the best of both worlds, hybrid lights let you dance between styles, giving your shots that irresistible edge. Light it up right, and watch your products come to life in ways that leave a lasting impression
A game-changing pro tip for product photography is to use diffusion paper. This simple yet effective tool provides soft, even lighting that eliminates harsh shadows and ensures consistent results across your shots. By placing diffusion paper over your light sources, you can create a beautifully diffused glow that enhances your product’s details. Plus, with artificial lighting, you can easily shoot indoors or in low-light conditions, where natural light might not be ideal. So, get ready to experiment—by adjusting the light position and intensity, you can craft stunning product photos that truly showcase the beauty of your items!

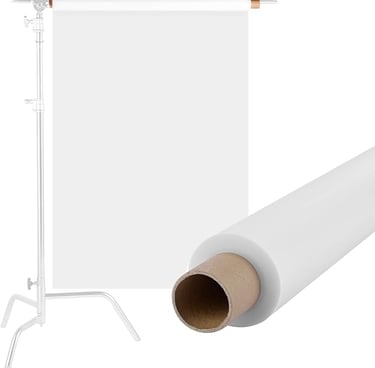
Elevate your product photography with premium diffusion paper! This essential tool softens and evenly distributes light, eliminating harsh shadows for stunning, professional-quality images. Easy to use and compatible with any light source, it’s perfect for indoor or low-light shooting. Capture products in their best light—get your diffusion paper today!
Diffusion lighting paper
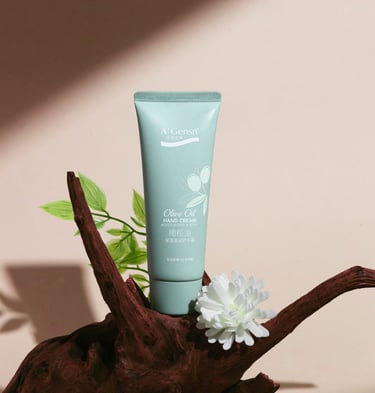
5 pro tip for lighting product photography specially, Cosmetics:
Use Soft Lighting: Soft, diffused lighting is crucial for skincare and cosmetics to avoid harsh shadows and highlight imperfections. Consider using softboxes or diffusion paper to create a gentle glow that enhances the texture and color of the products.
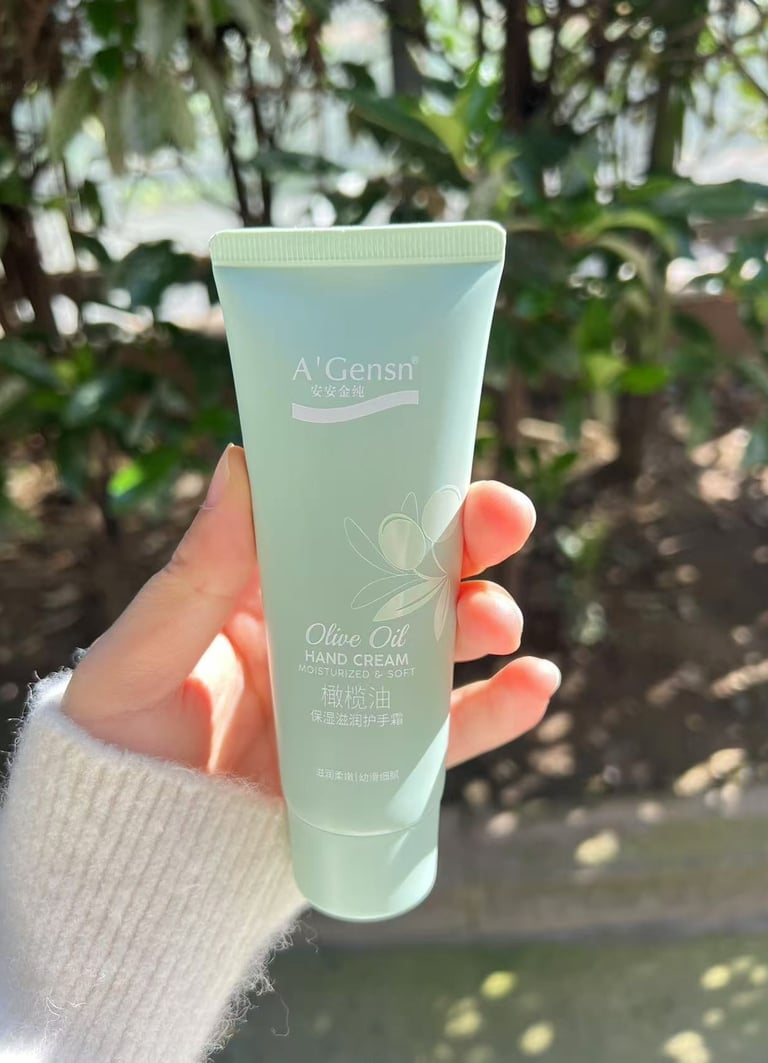
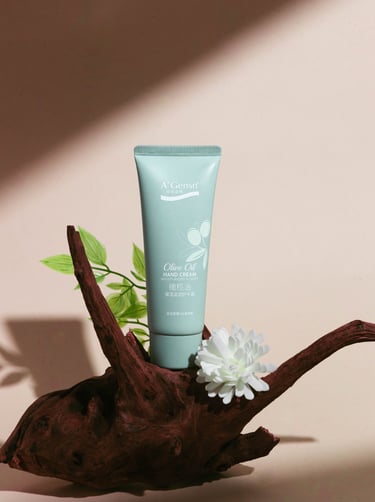
Backlight for Glow: Backlighting can add a beautiful halo effect around your products, especially bottles and jars. Position your light source behind the product to create a radiant glow that emphasizes transparency and color, making the products look more appealing.
Experiment with Angles: Lighting from different angles can dramatically change the look of your products. Try a 45-degree angle to create depth and dimension, or overhead lighting to capture details on flat surfaces. Don't be afraid to move your light source around for the best results.
Control Color Temperature: Consistent color temperature is key for showcasing skincare and cosmetics accurately. Use a color temperature meter or adjust your camera settings to ensure that your lights are balanced, preventing any color casts that could misrepresent the products.
Highlight Textures: Skincare products often have rich textures that can be beautifully highlighted with side lighting. Use a light source positioned to the side of the product to accentuate textures and details, giving your photos a professional touch that draws the eye.